Engineering Content Index

Turn Cloud Mac workflows into executable engineering steps

From choosing a dedicated physical node and reproducing an Xcode environment to establishing SSH sessions, validating build artifacts, and planning system upgrades, every guide focuses on commands, checks, and failure paths.

Filter by topic

Showing 3 guides

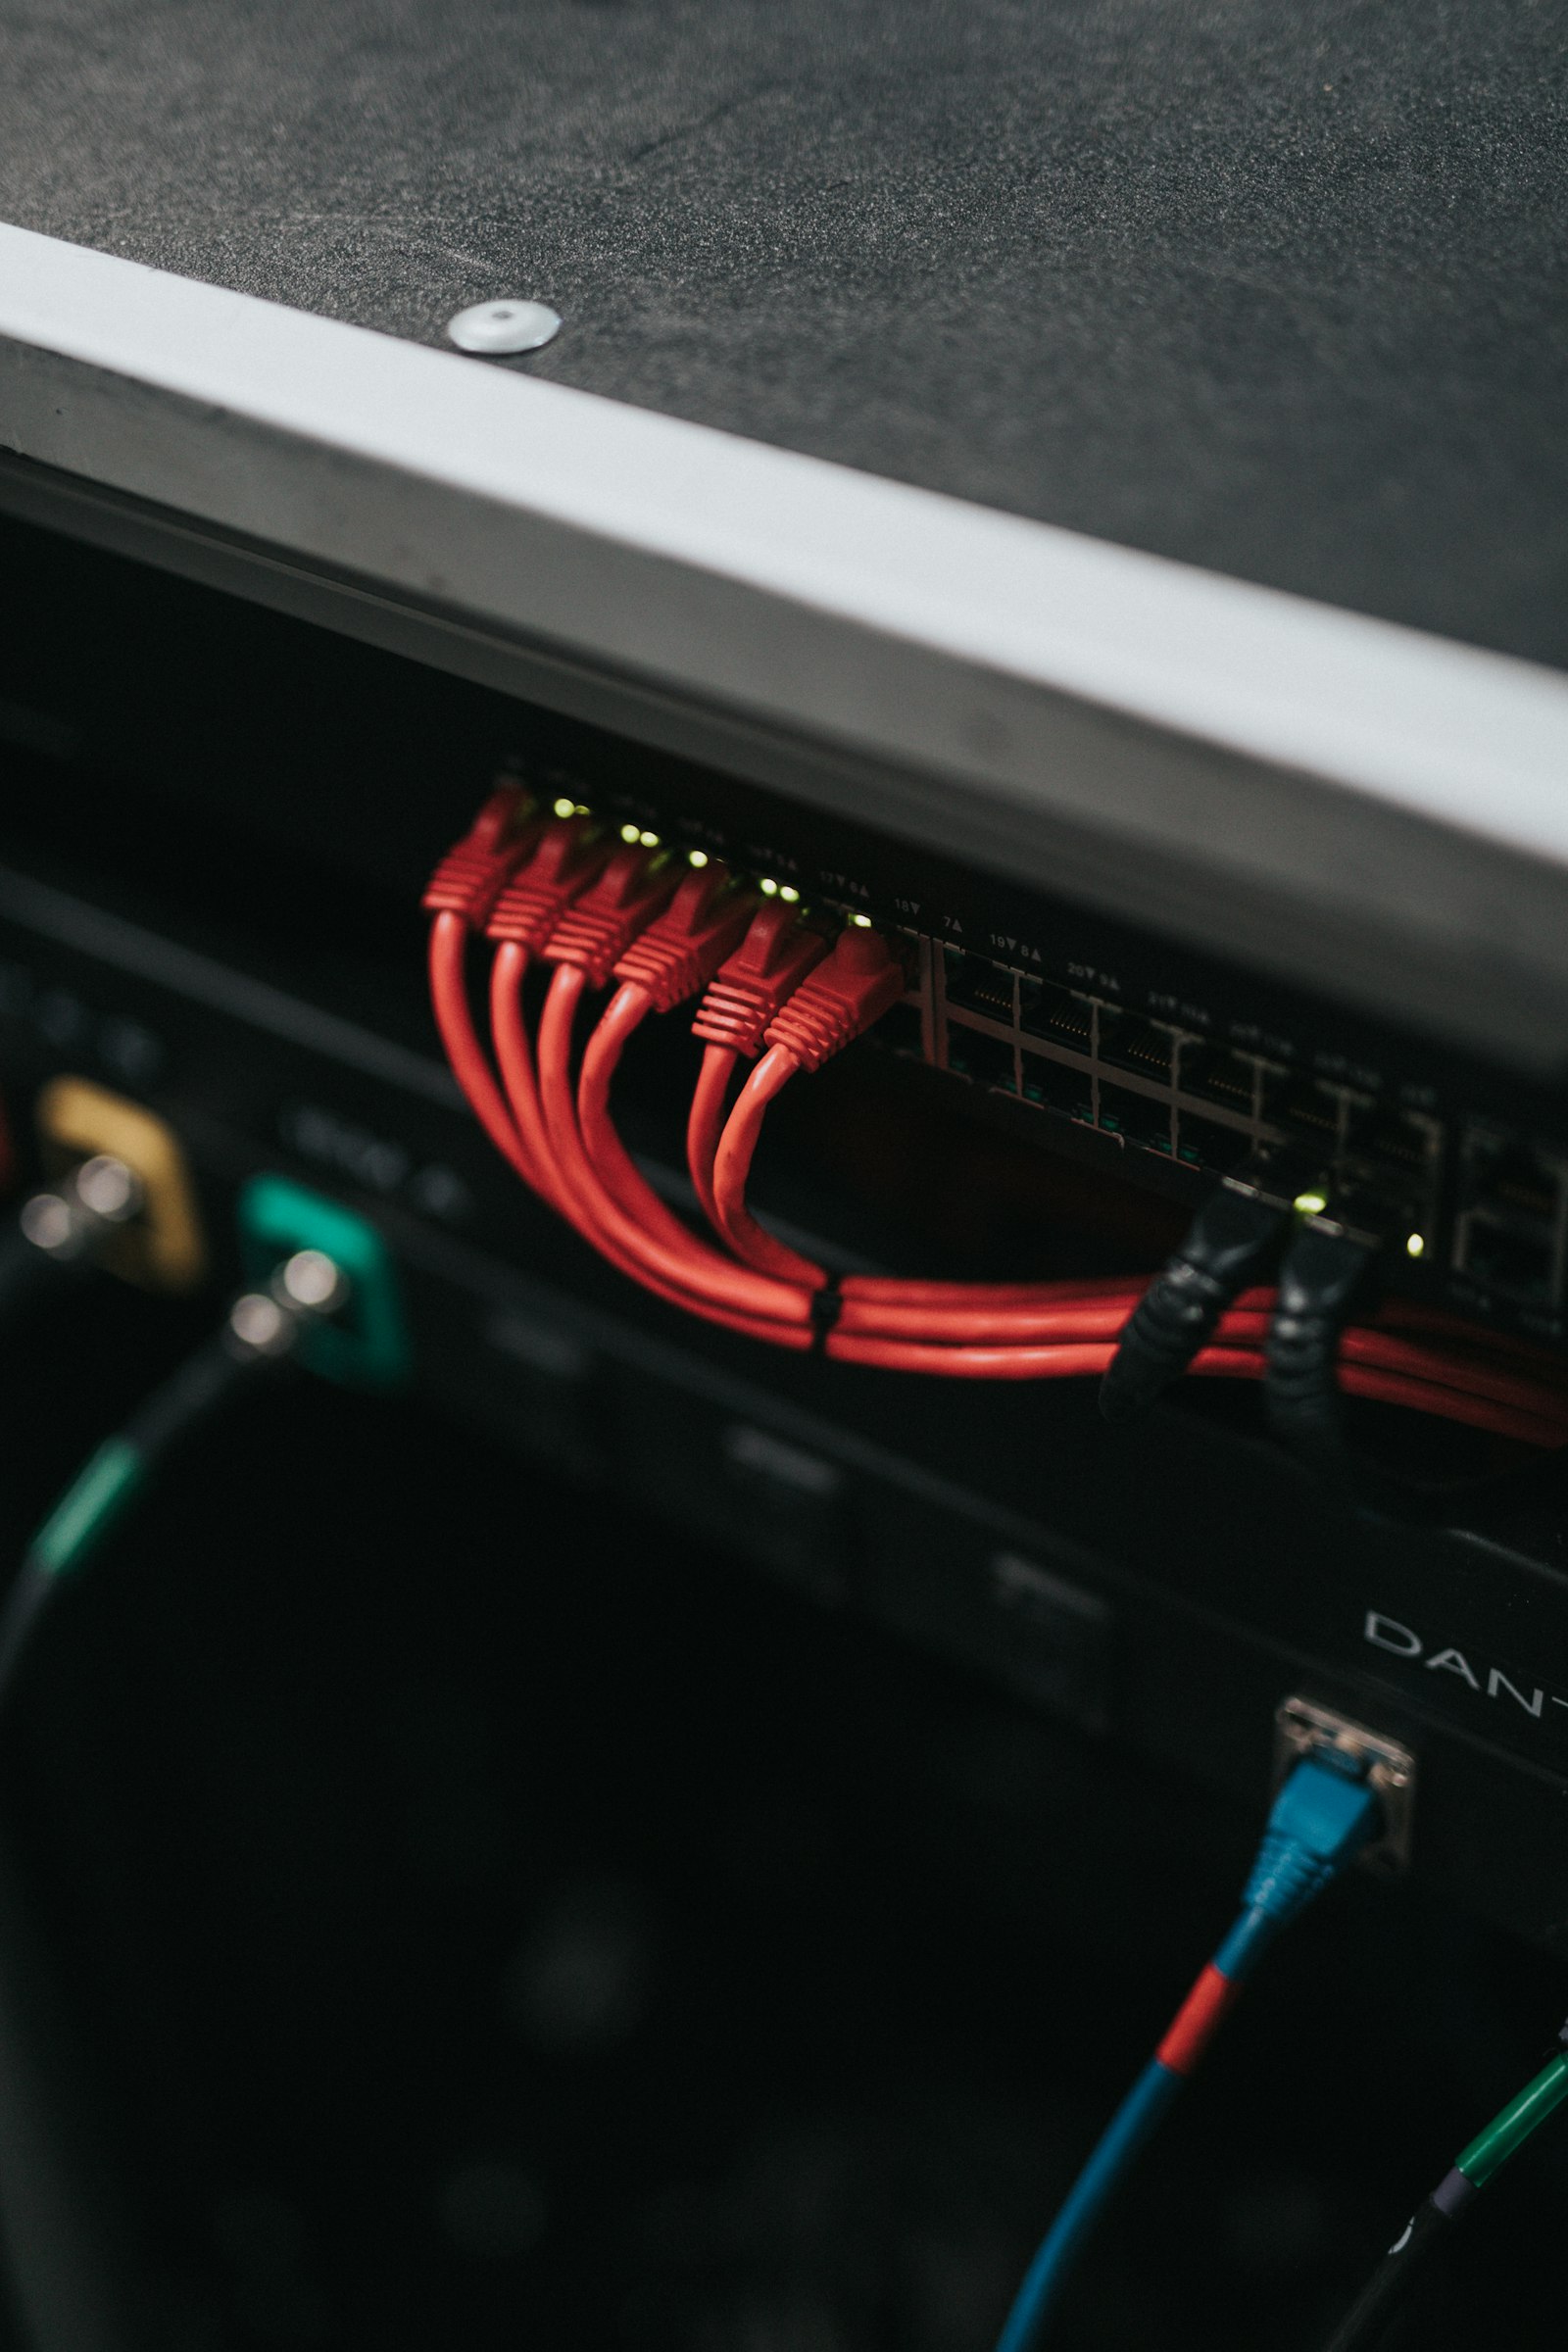
Bundled patch cables on a rack switch
OPSVM / KNOWLEDGE ROUTING 3 guides
Environment reproduction Xcode, dependencies, command-line tools
Connection validation SSH, graphical sessions, code synchronization
Build delivery Testing, signing checks, artifact delivery
Change control Compatibility checks, backups, rollback records
For iOS / macOS / CI/CD / AI
TOPIC 01 / XCODE

Validate paths first, then build the Xcode release pipeline

Cloud builds can fail for reasons beyond the compiler. A mismatch in the Xcode path, dependency cache, signing-material access, test target, or artifact export can cause a task that succeeds locally to fail in automation.

Set up the environment step by step
Toolchain

Pin Xcode and the command-line path

First record the system version, full Xcode version, and current development directory, then verify where xcode-select points. CI tasks should explicitly declare the working directory, scheme, configuration, and output path instead of inheriting temporary settings from an interactive session.

Caching

Separate reusable dependencies from build artifacts

Reuse dependency-download caches by lockfile digest, while isolating DerivedData and intermediate artifacts by branch, Xcode version, and target platform. Even after a cache hit, run one clean build to confirm there are no hidden dependencies.

Delivery

Run signing checks before export

Verify provisioning profiles, certificate readability, bundle identifiers, and export settings before running archive and export. Fastlane should retain failed steps, exit codes, and sanitized logs; after delivery, verify the artifact’s file size and digest.

TOPIC 02 / REMOTE

Establish a trusted remote connection before adding a graphical session

Run command-line tasks over SSH first. When the Xcode GUI is needed, configure resolution, frame rate, and color quality based on network conditions. Use separate transfer paths for code, build caches, and large assets.

Read the remote access guide

SSH verification

Verify the node address, username, key permissions, and host fingerprint. After connecting, check the system version, available disk space, and current user permissions.

Code synchronization

Use Git for traceable source code, SFTP for a small number of configuration files, and archives for one-time migration of large directories. Verify integrity with a digest after transfer.

Session cleanup

Exit the graphical session, close unneeded forwarding ports, and remove local temporary configuration. If credentials are exposed, rotate them immediately and record the affected scope.

System change management

A macOS upgrade is a validation chain, not a single button

Dedicated physical nodes run continuously 365 days a year. When the system version needs to change, the team should schedule the change based on toolchain dependencies and complete compatibility checks, backups, and rollback preparations beforehand.

View troubleshooting documentation
STEP 1

Build a version inventory

Record versions of macOS, Xcode, Swift, dependency managers, runtimes, and critical command-line components. For projects that cannot be upgraded, document the reason and alternatives.

STEP 2

Validate compatibility boundaries

Check the minimum deployment target, third-party dependencies, build scripts, and CI plugins. Run a test build first, then validate the archive, export, and artifact checks.

STEP 3

Back up essential data

Return source code to the code repository, and store configuration and key materials securely and separately. Back up only the data required for recovery; do not treat temporary caches as migration assets.

STEP 4

Define rollback conditions

Specify which test failures must stop the change, and record the original version, recovery sequence, and validation commands. After rollback, recheck permissions, paths, and automated tasks.
TOPIC 04 / WORKFLOW

Cloud macOS vs. local development: collaboration is the dividing line

A Cloud Mac dedicated physical machine is not a virtual machine. It suits workflows requiring continuous availability, a fixed environment, and access across regions; local devices are better for tasks that depend heavily on peripherals, frequent offline work, or no shared environment.

Cloud macOS vs. local development workflows
Evaluation factor Cloud Mac dedicated physical machine Local development device Recommendation
Performance limits The configuration is fixed, so long-running tasks do not occupy personal devices and builds and tests can run continuously. Interaction latency is low, but builds compete with everyday development, meetings, and local apps for resources. Prefer Cloud Mac for long pipelines; keep local environments for highly interactive debugging.
Availability Connect remotely through a selected node, making it suitable for distributed teams and asynchronous tasks. Availability depends on the device’s network, power status, and portability. Choose Cloud Mac when continuous access is required, and test office-network latency first.
Operational overhead Teams can centrally document versions, dependencies, permissions, and recovery procedures. Each member maintains their own setup, so environment drift can accumulate easily. When many people share a build baseline, a centralized environment is easier to reproduce.
Team collaboration Task entry points, logs, caches, and artifact paths can be standardized. Personal customization is flexible, but handoffs require explaining environment differences again. Use Cloud Mac nodes for shared pipelines while keeping local devices for personal editing.
TOPIC 05 / MEDIA

For media and global distribution, turn checks into artifacts

App-size analysis, asset compression, and encoding should not run just once on a developer’s desktop. By bringing inputs, parameters, thresholds, logs, and output files into automation, teams can compare the real impact of every change.

01 / INPUT INVENTORY

Identify what consumes space

Classify images, audio, video, fonts, architecture slices, and symbol files, recording original size, compression method, and whether each item is referenced more than once.

02 / RULE PROCESSING

Make parameters reproducible

Put compression quality, encoding format, target resolution, and exclusion rules in scripts instead of relying on memory or temporary settings in graphical tools.

03 / BUILD CHECKS

Compare actual artifacts

Check file lists, architectures, symbols, and app size in archive and export results. Do not compare only the size of assets in the source directory.

04 / AUTOMATED FEEDBACK

Output machine-readable reports

Set thresholds for total size, individual file size, and incremental changes. Archive reports with artifacts and make over-limit jobs return a clear exit code.

Content card standards

Tell readers what they can solve, then invite them into the full guide

Every card consistently shows a category, title, 60–100-word summary, publication date, and reading link. Summaries state the task, key steps, and expected validation results without showing unverified view counts, popularity, or ratings.

Clear category One problem per title Actionable summary Verifiable date Consistent link text

Ready to move your workflow to a dedicated physical node?

Choose from three Apple Silicon configurations suited to your current build workload, or start with the getting-started guide to review nodes, billing periods, storage, and connection tools.